Starlight
*This article is currently considered incomplete
I recently was tasked with modifying 4 Starlight Wii consoles that were completely unusable in their current condition. This is the story.
Background
Starlight Fun Centers are portable gaming kiosks that were designed to be used in hospitals and health care settings, primarily by children. The first Starlight kiosk was based upon the Super NES, with a new kiosk created for each new Nintendo console generation since. The most recent Starlight kiosk released is based upon the Nintendo Switch console.
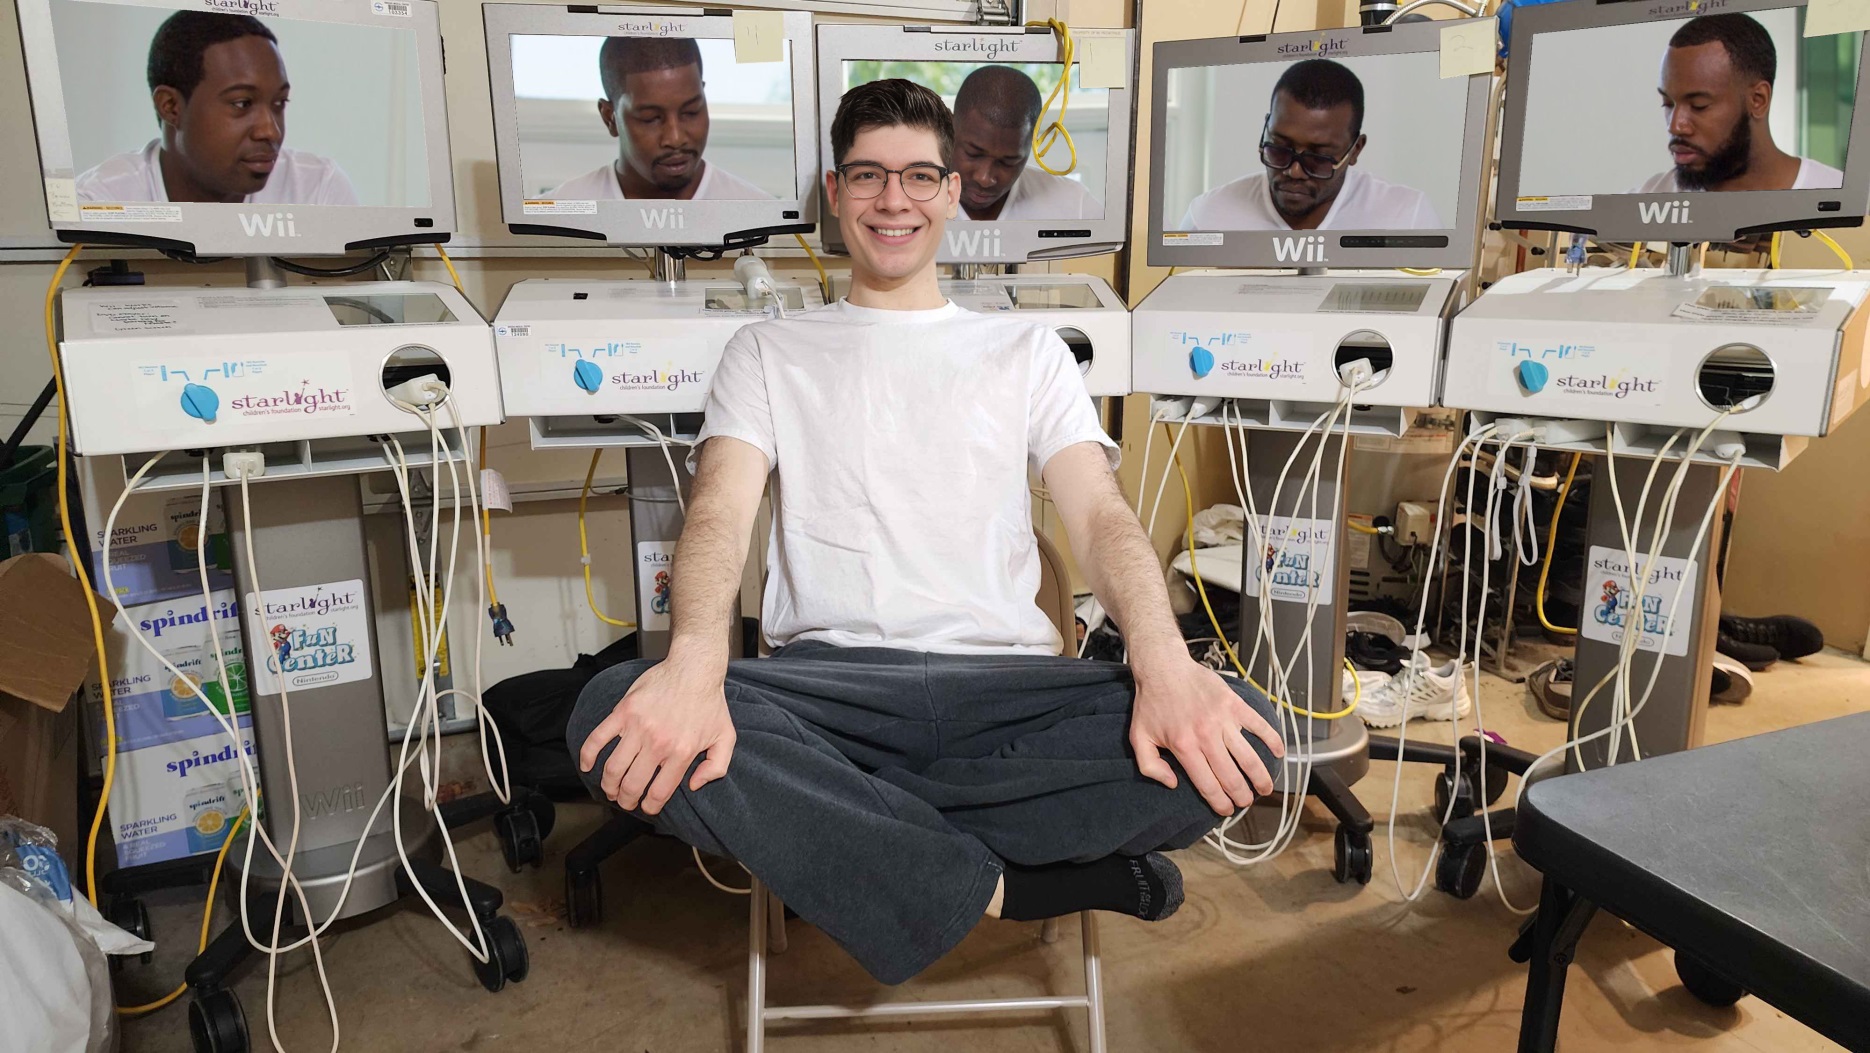
The Starlight Wii kiosk comes with a stand on wheels, a TV, DVD player, the Wii, a Wii USB Ethernet adapter, and all the supporting hardware for power distribution and the wired Wii Remotes and Nunchuck.
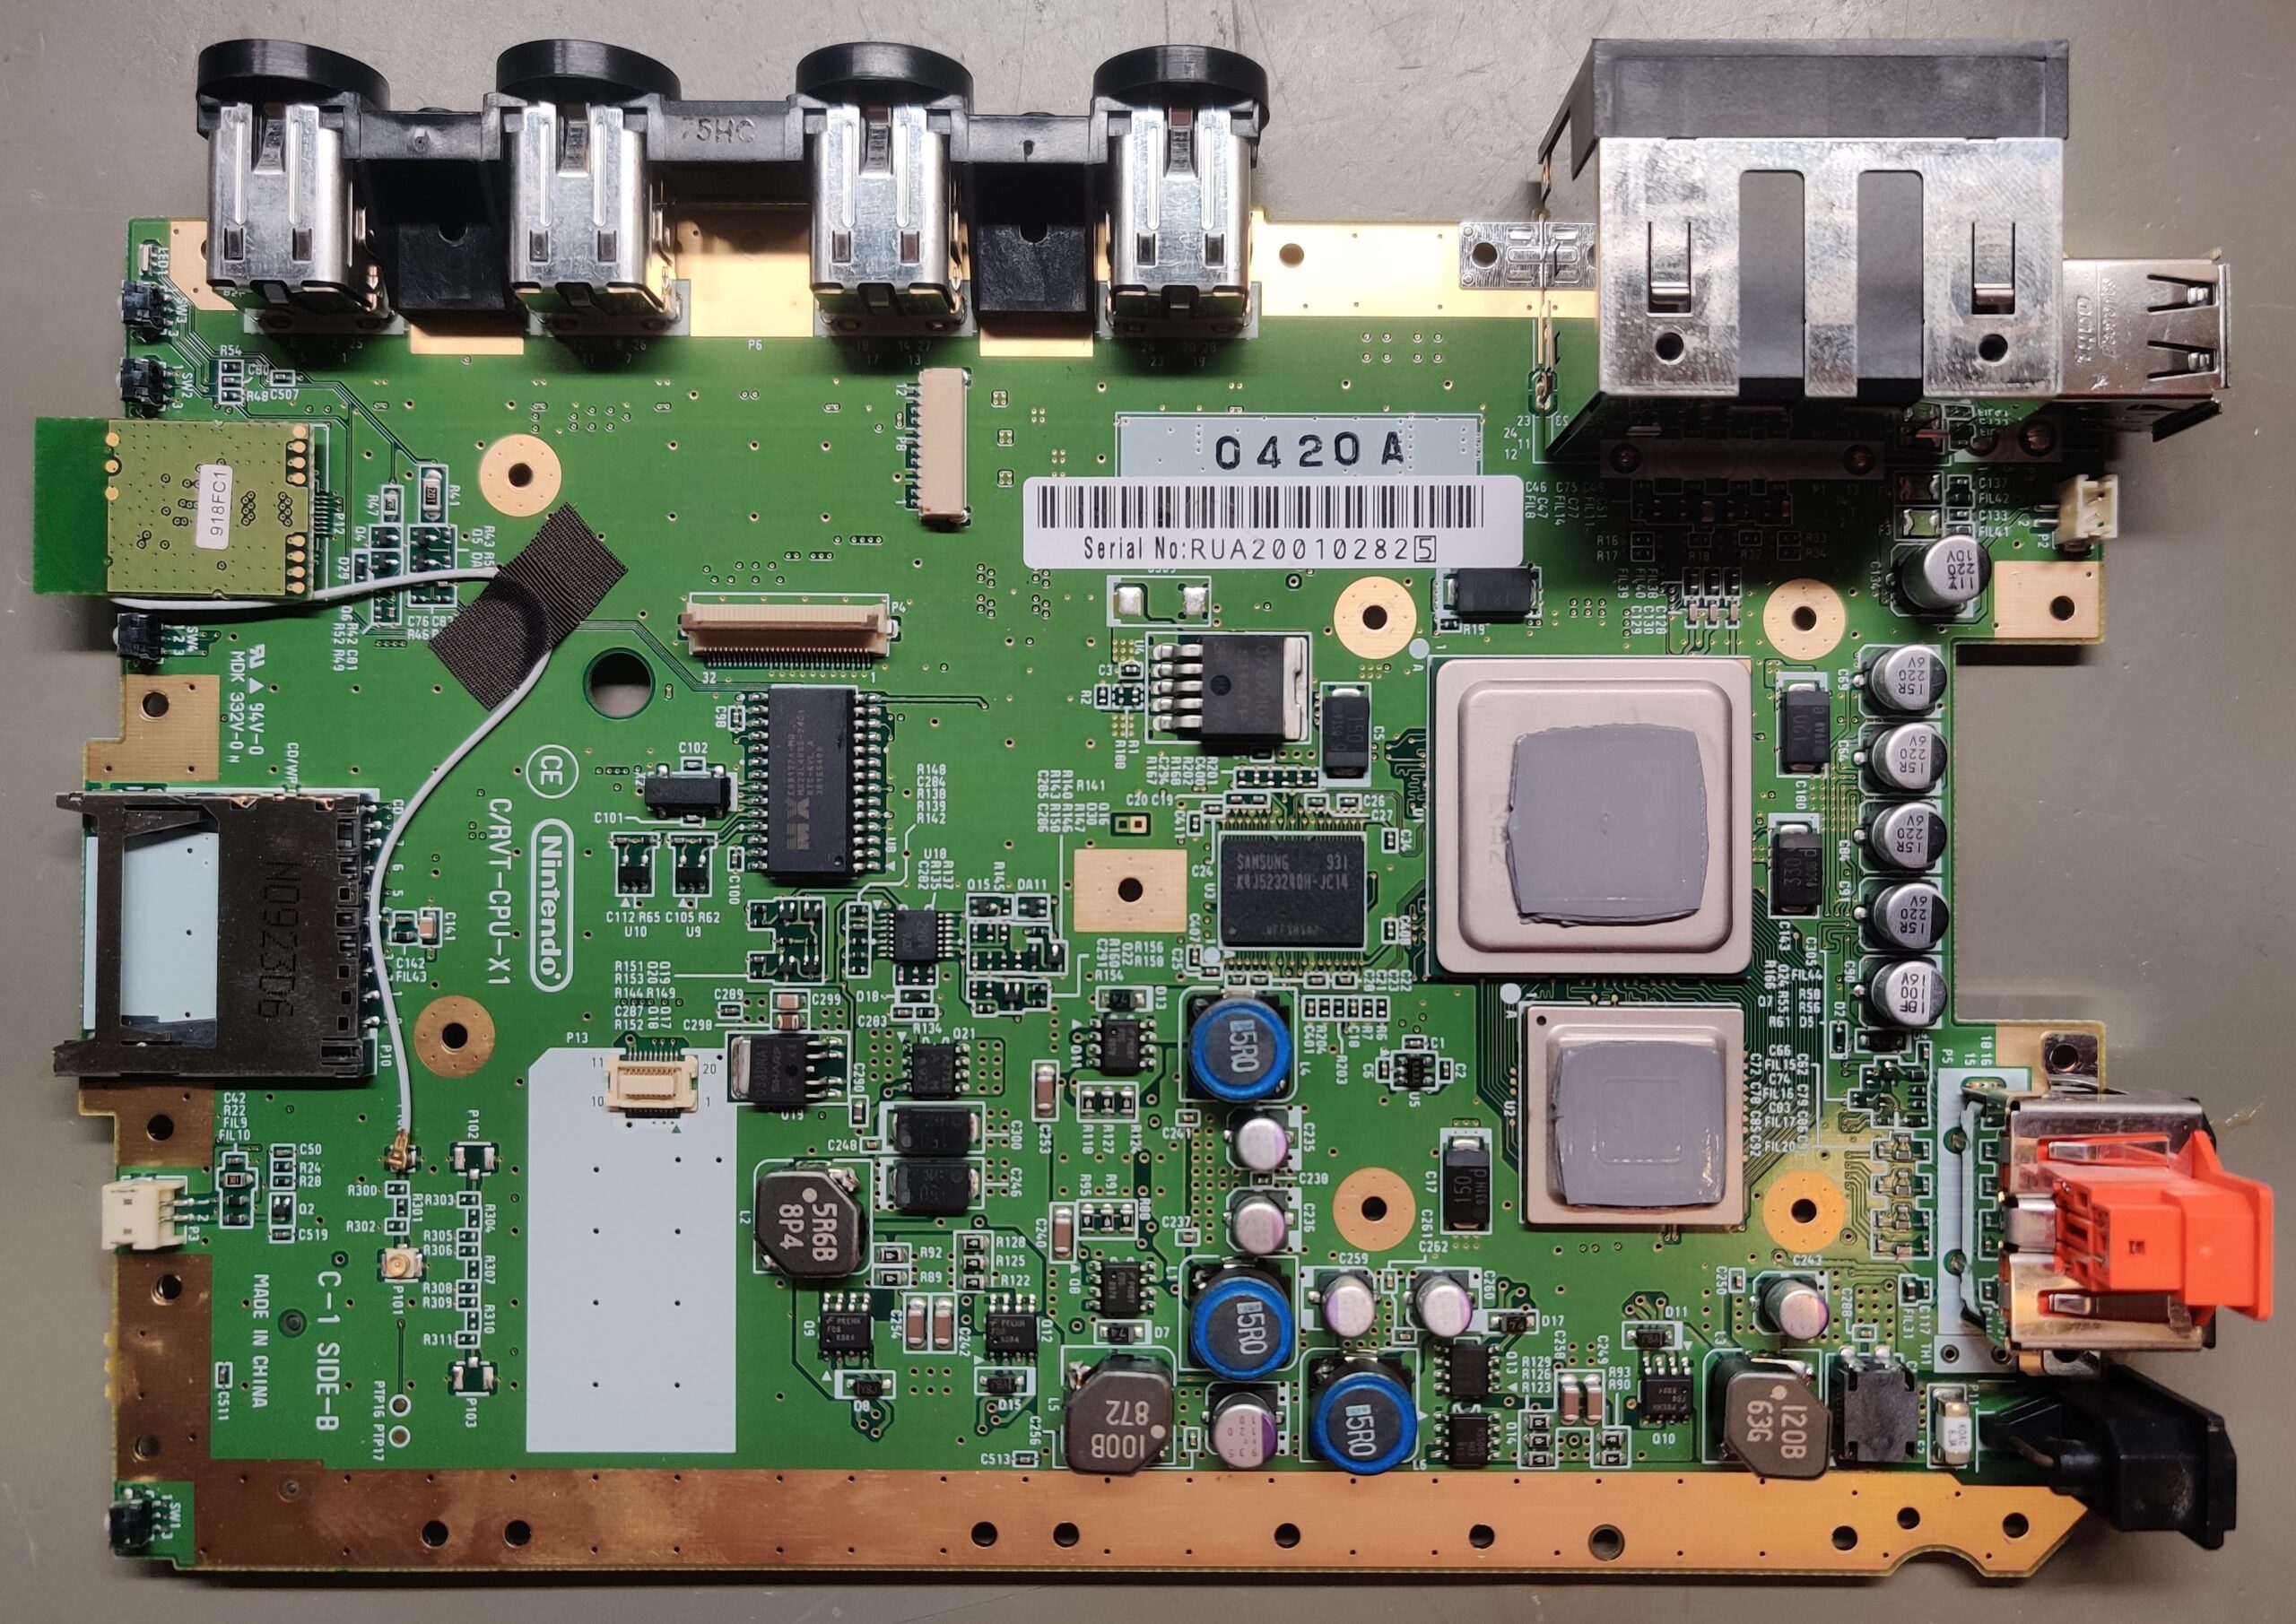
The Starlight Wii kiosk is unique as it is the only known kiosk type to include developer hardware, which is based upon a RVT-R Wii. This was likely chosen because the development hardware was already designed to use wired Wii remotes and Nunchuk. Using wired Wii Remotes and Nunchuks was likely necessary as to not cause any interference with any medical devices.
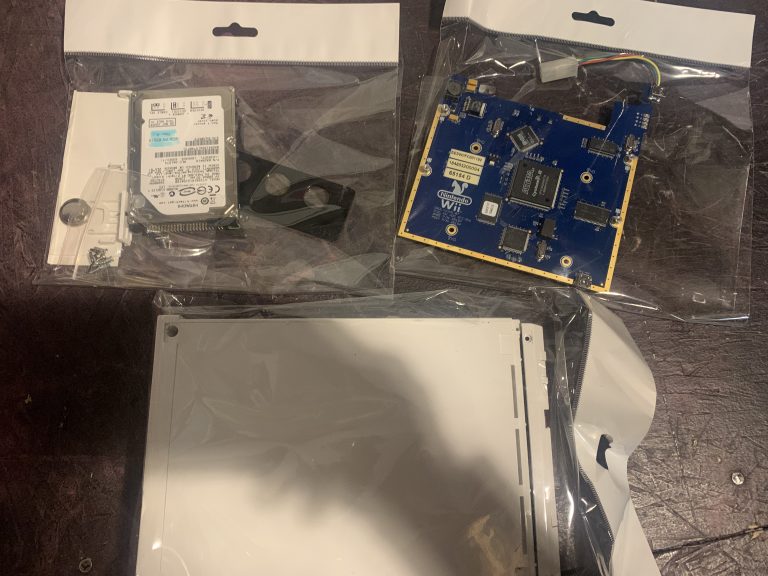
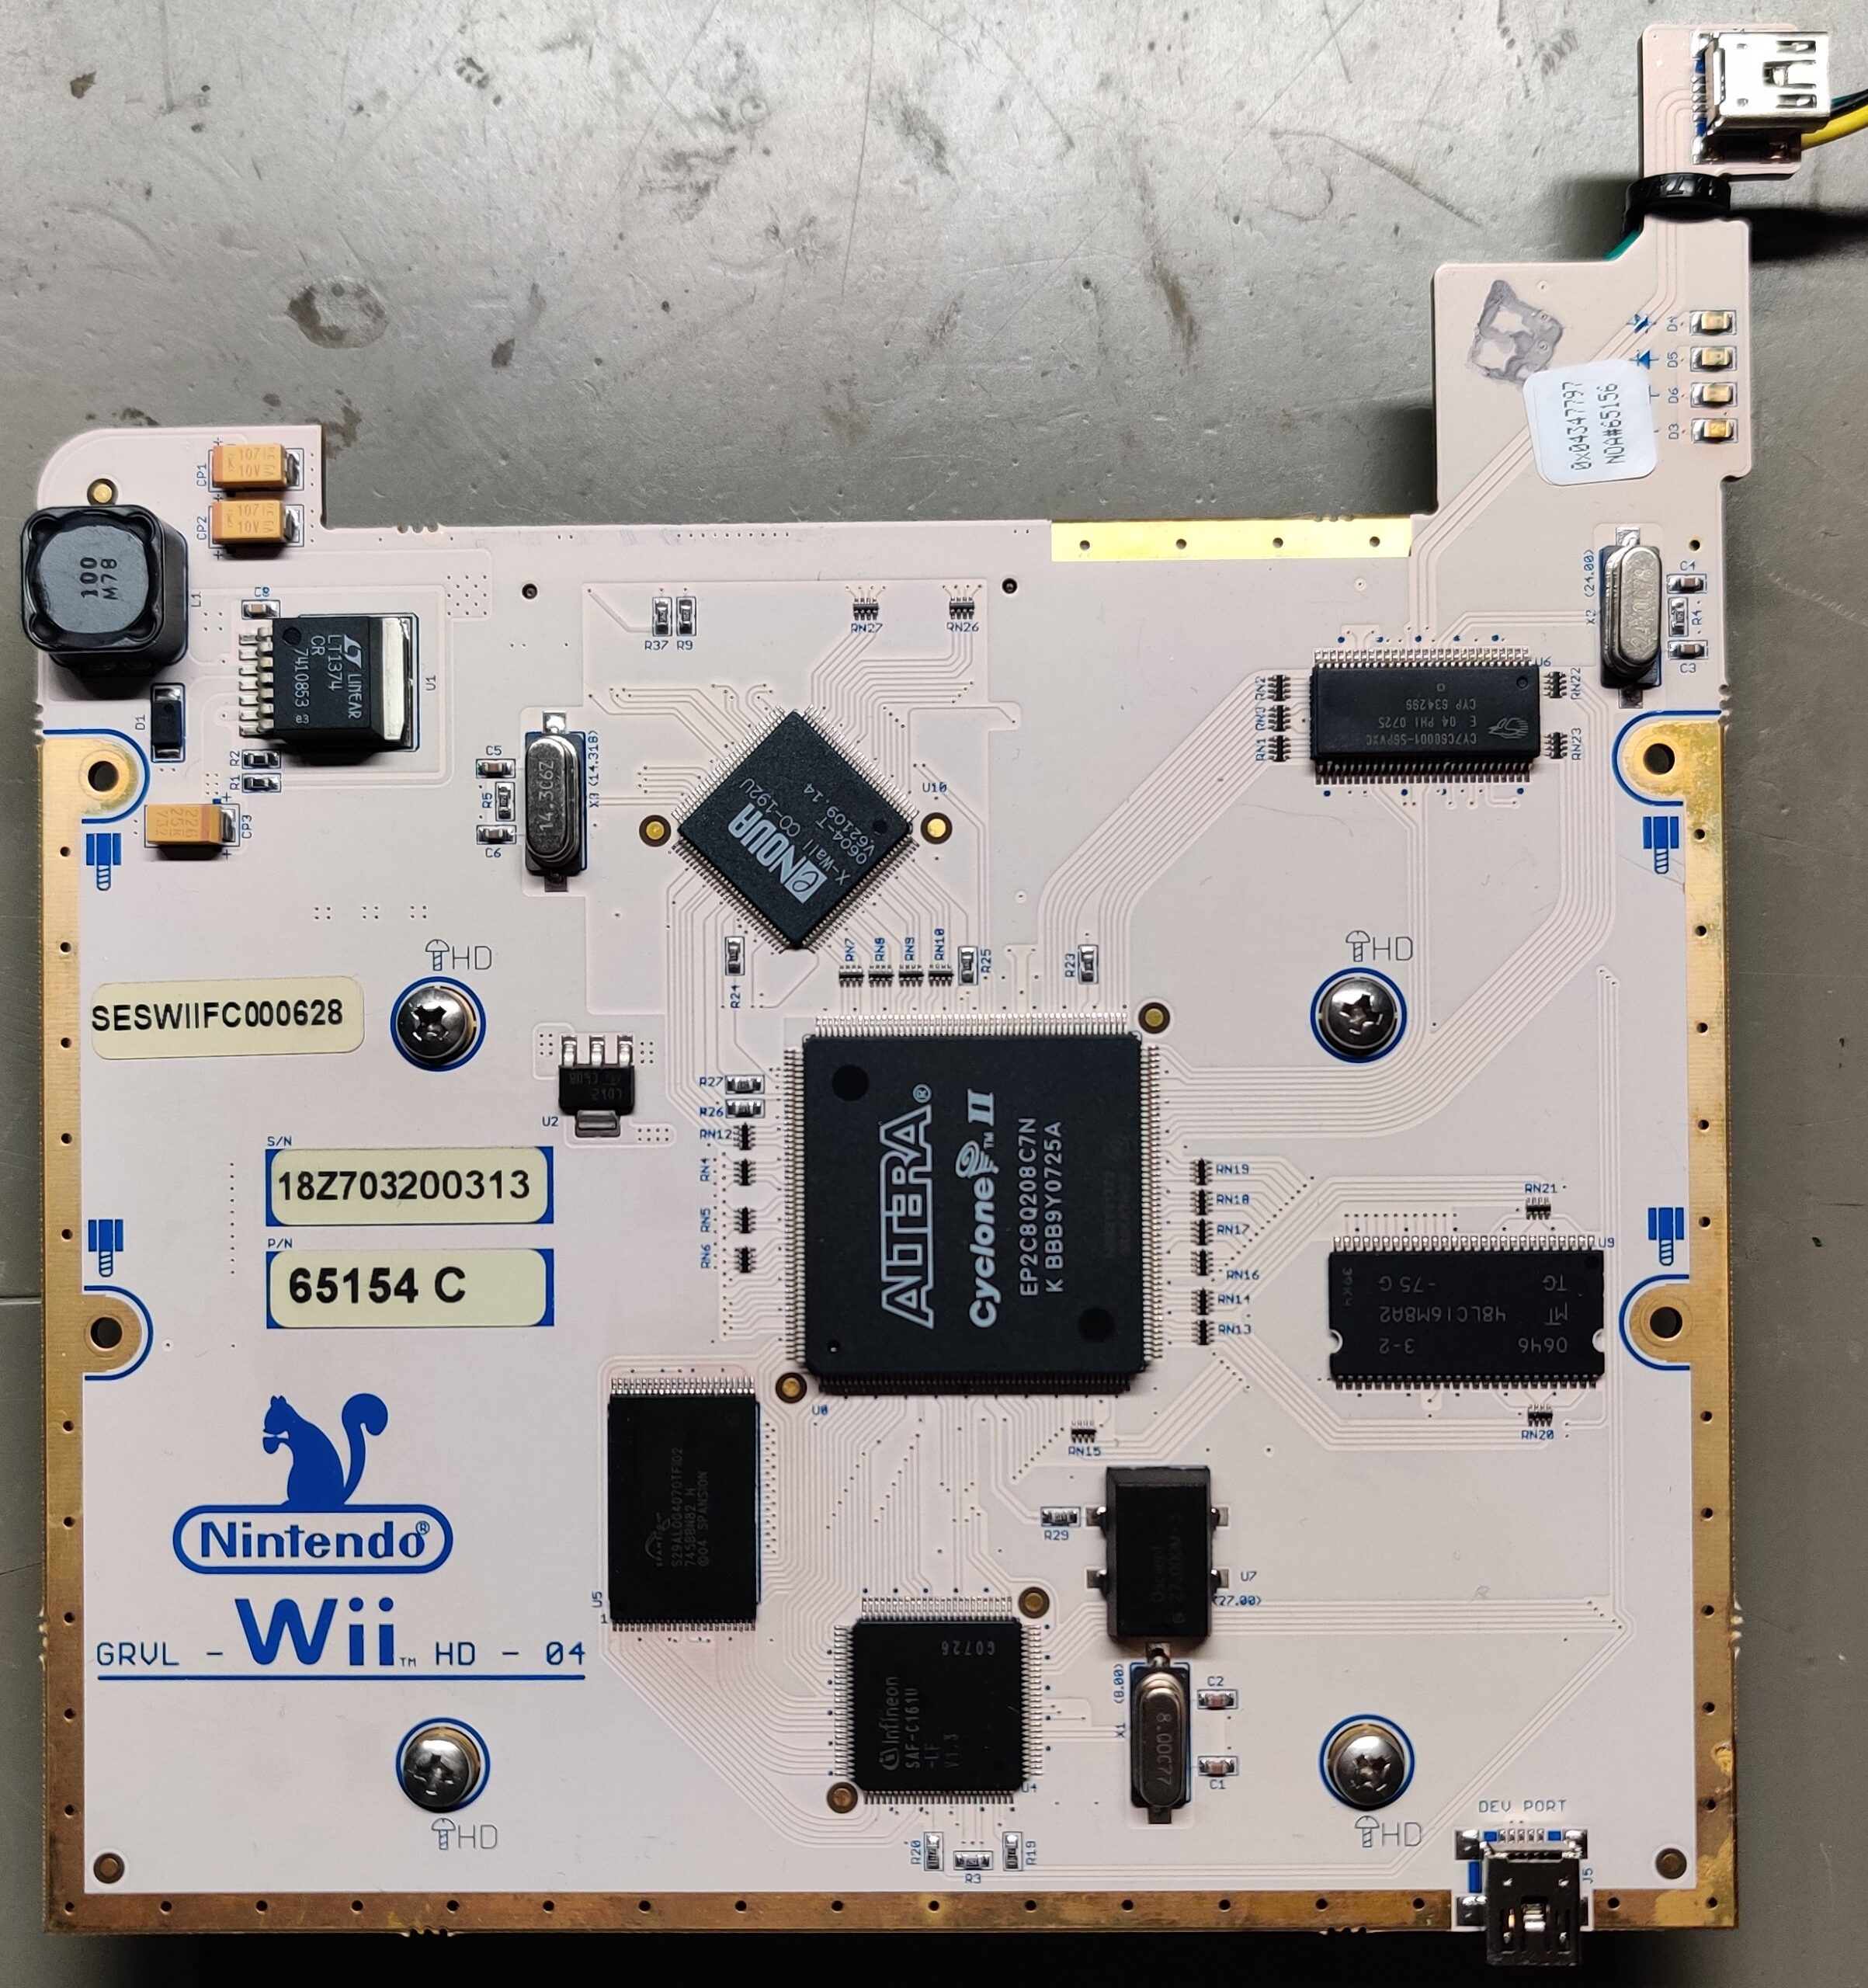
In place of the slot in optical disc drive that is found on normal retail Wii’s, the starlight Wii console utilizes an Optical Drive EMulator board (ODEM) and an internal hard drive. Early revisions of this ODEM board had a silkscreen image of a Squirrel on it, giving it the name within the community as the Squirrel Board. There are 2 major revisions of the Squirrel Board, one for PATA (IDE) hard disc drives, and a later revision for SATA hard disc drives.
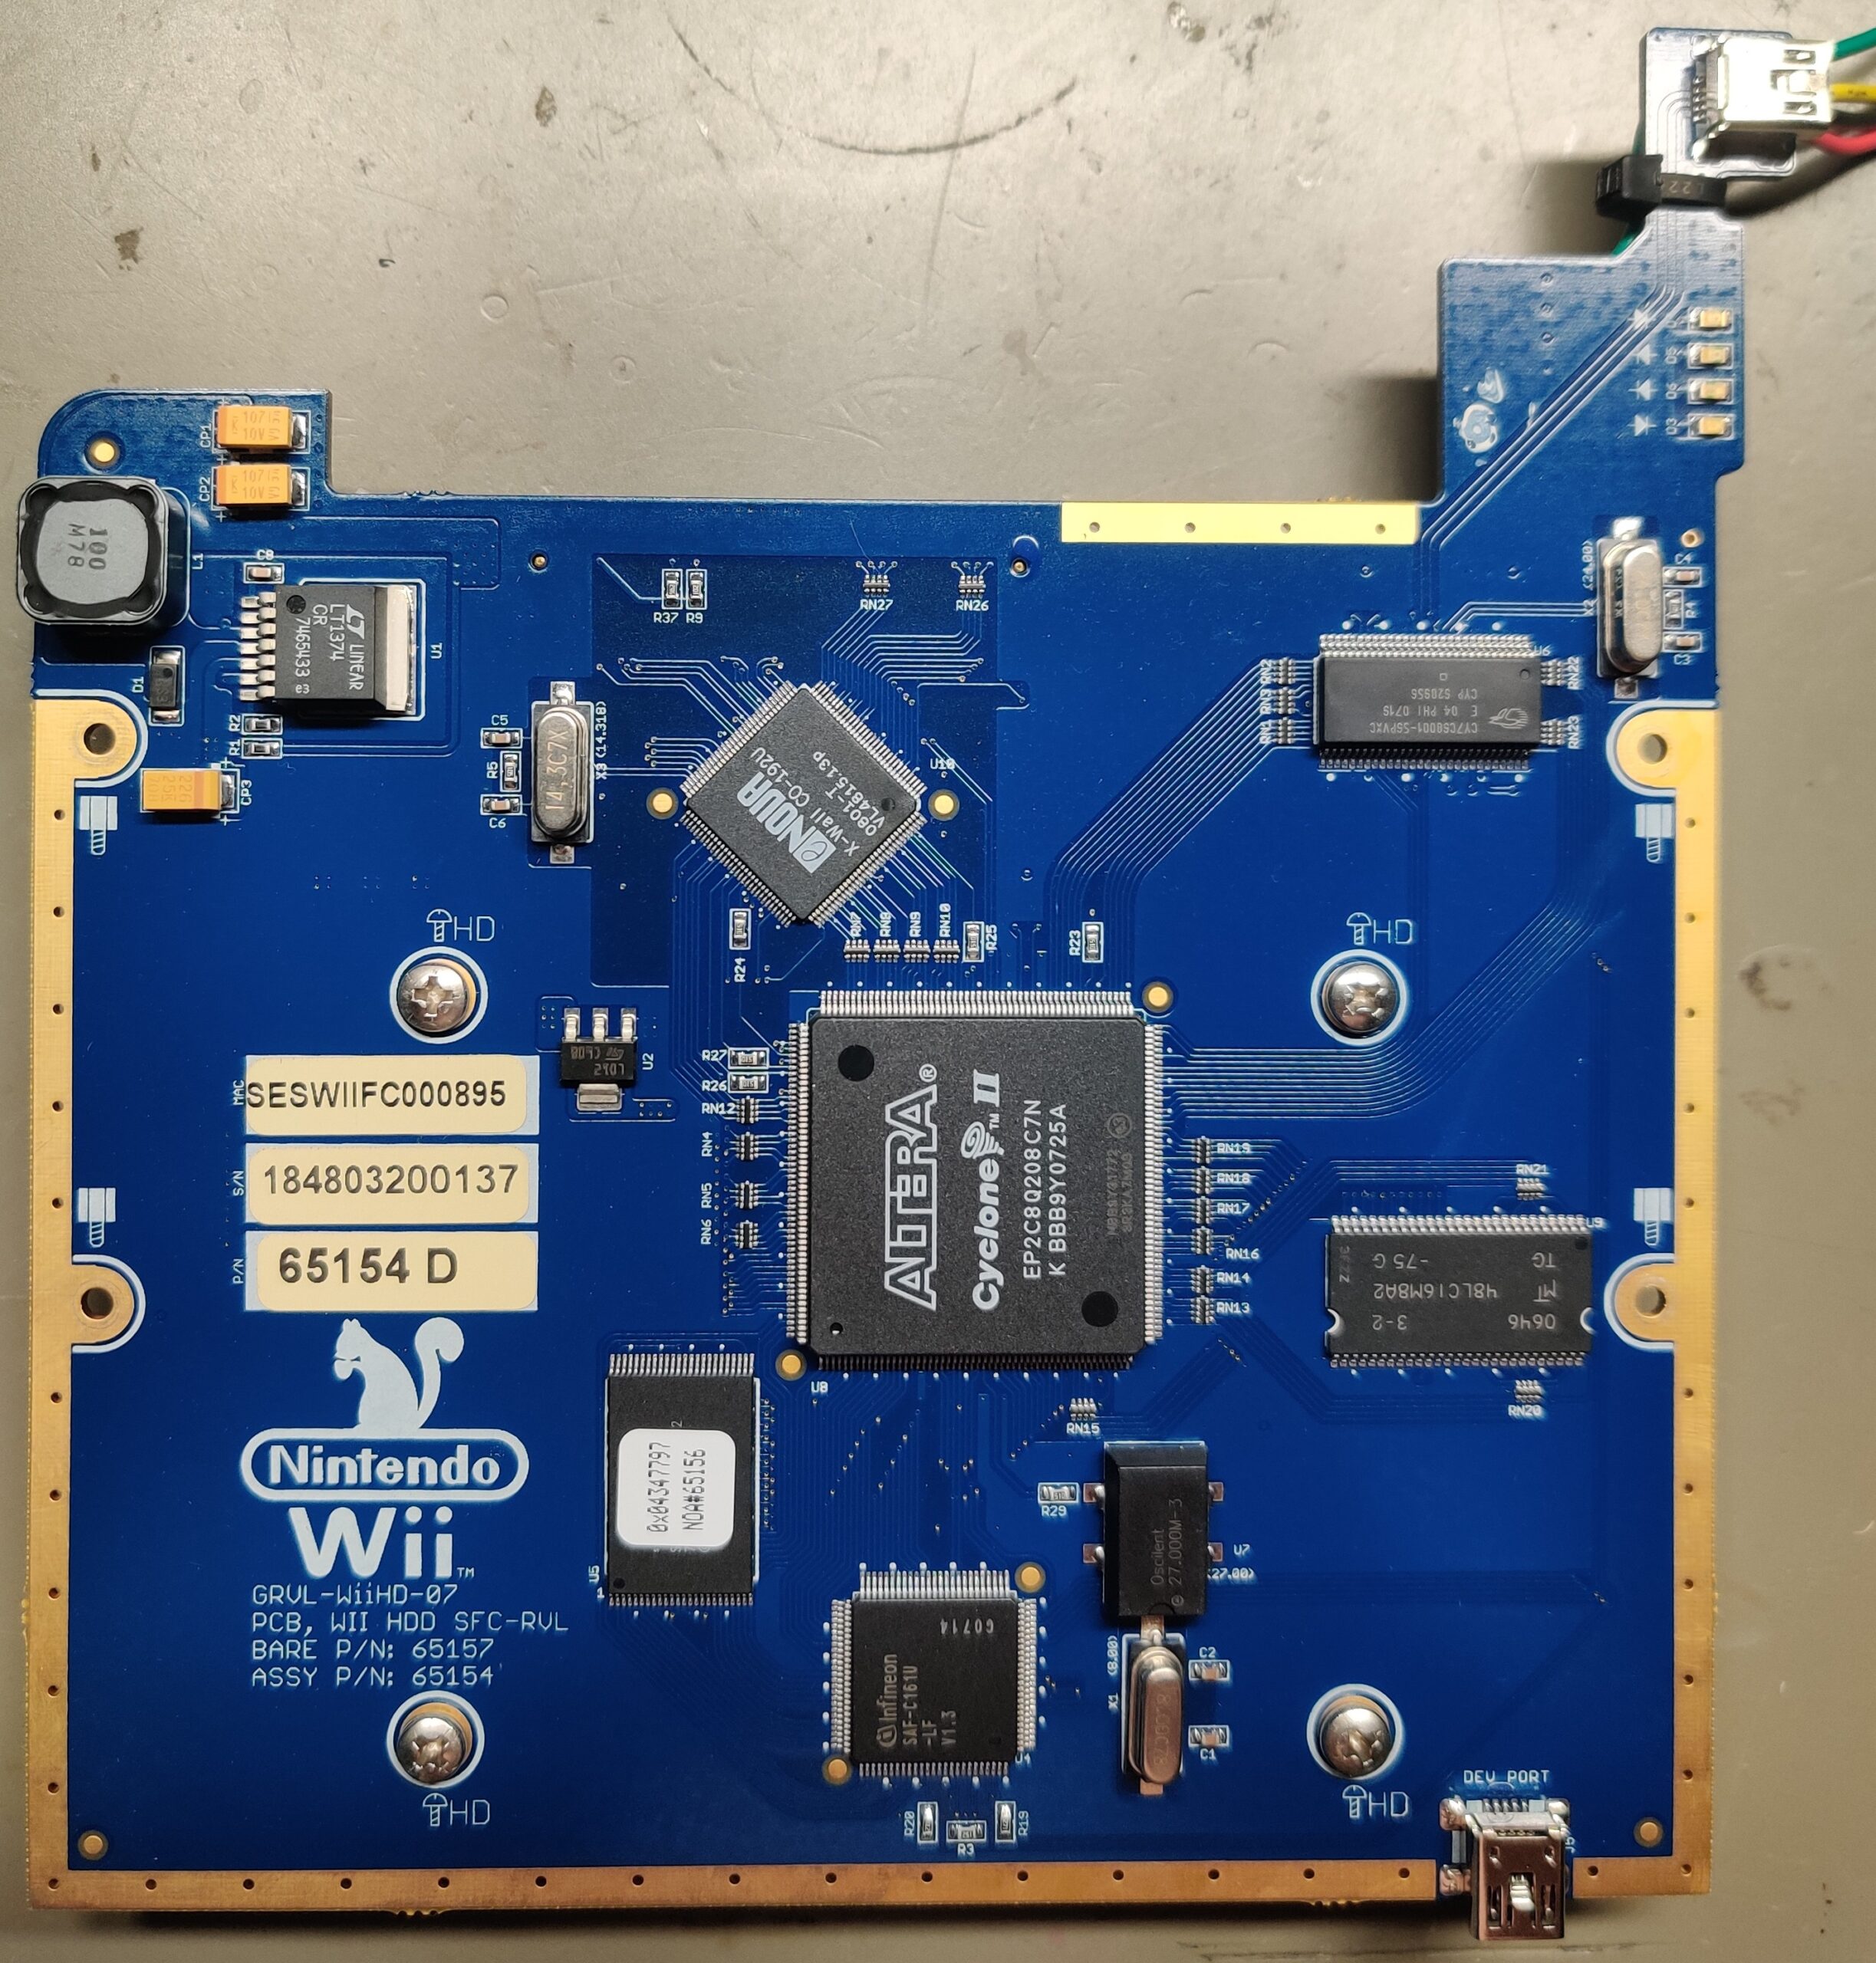

The Squirrel board serves a secondary purpose, preventing theft. They needed a way to ensure that if someone were to snatch the console from the kiosk, that it would be disabled so someone wouldn’t walk away with console full of games. This is done with 2 methods that the squirrel board uses. First, the hard disk drive is locked with a drive password. This prevents the user from reading and copying the contents of the hard drive.
Drive Password: D6247556436DA53833229A3DA34B633F201EB171555520346938FE3DAF6C4C9DThe second method to prevent theft is that the Squirrel board ensures that it is still connected to the kiosk by a challenge and response validation with the Controller Select PCB.
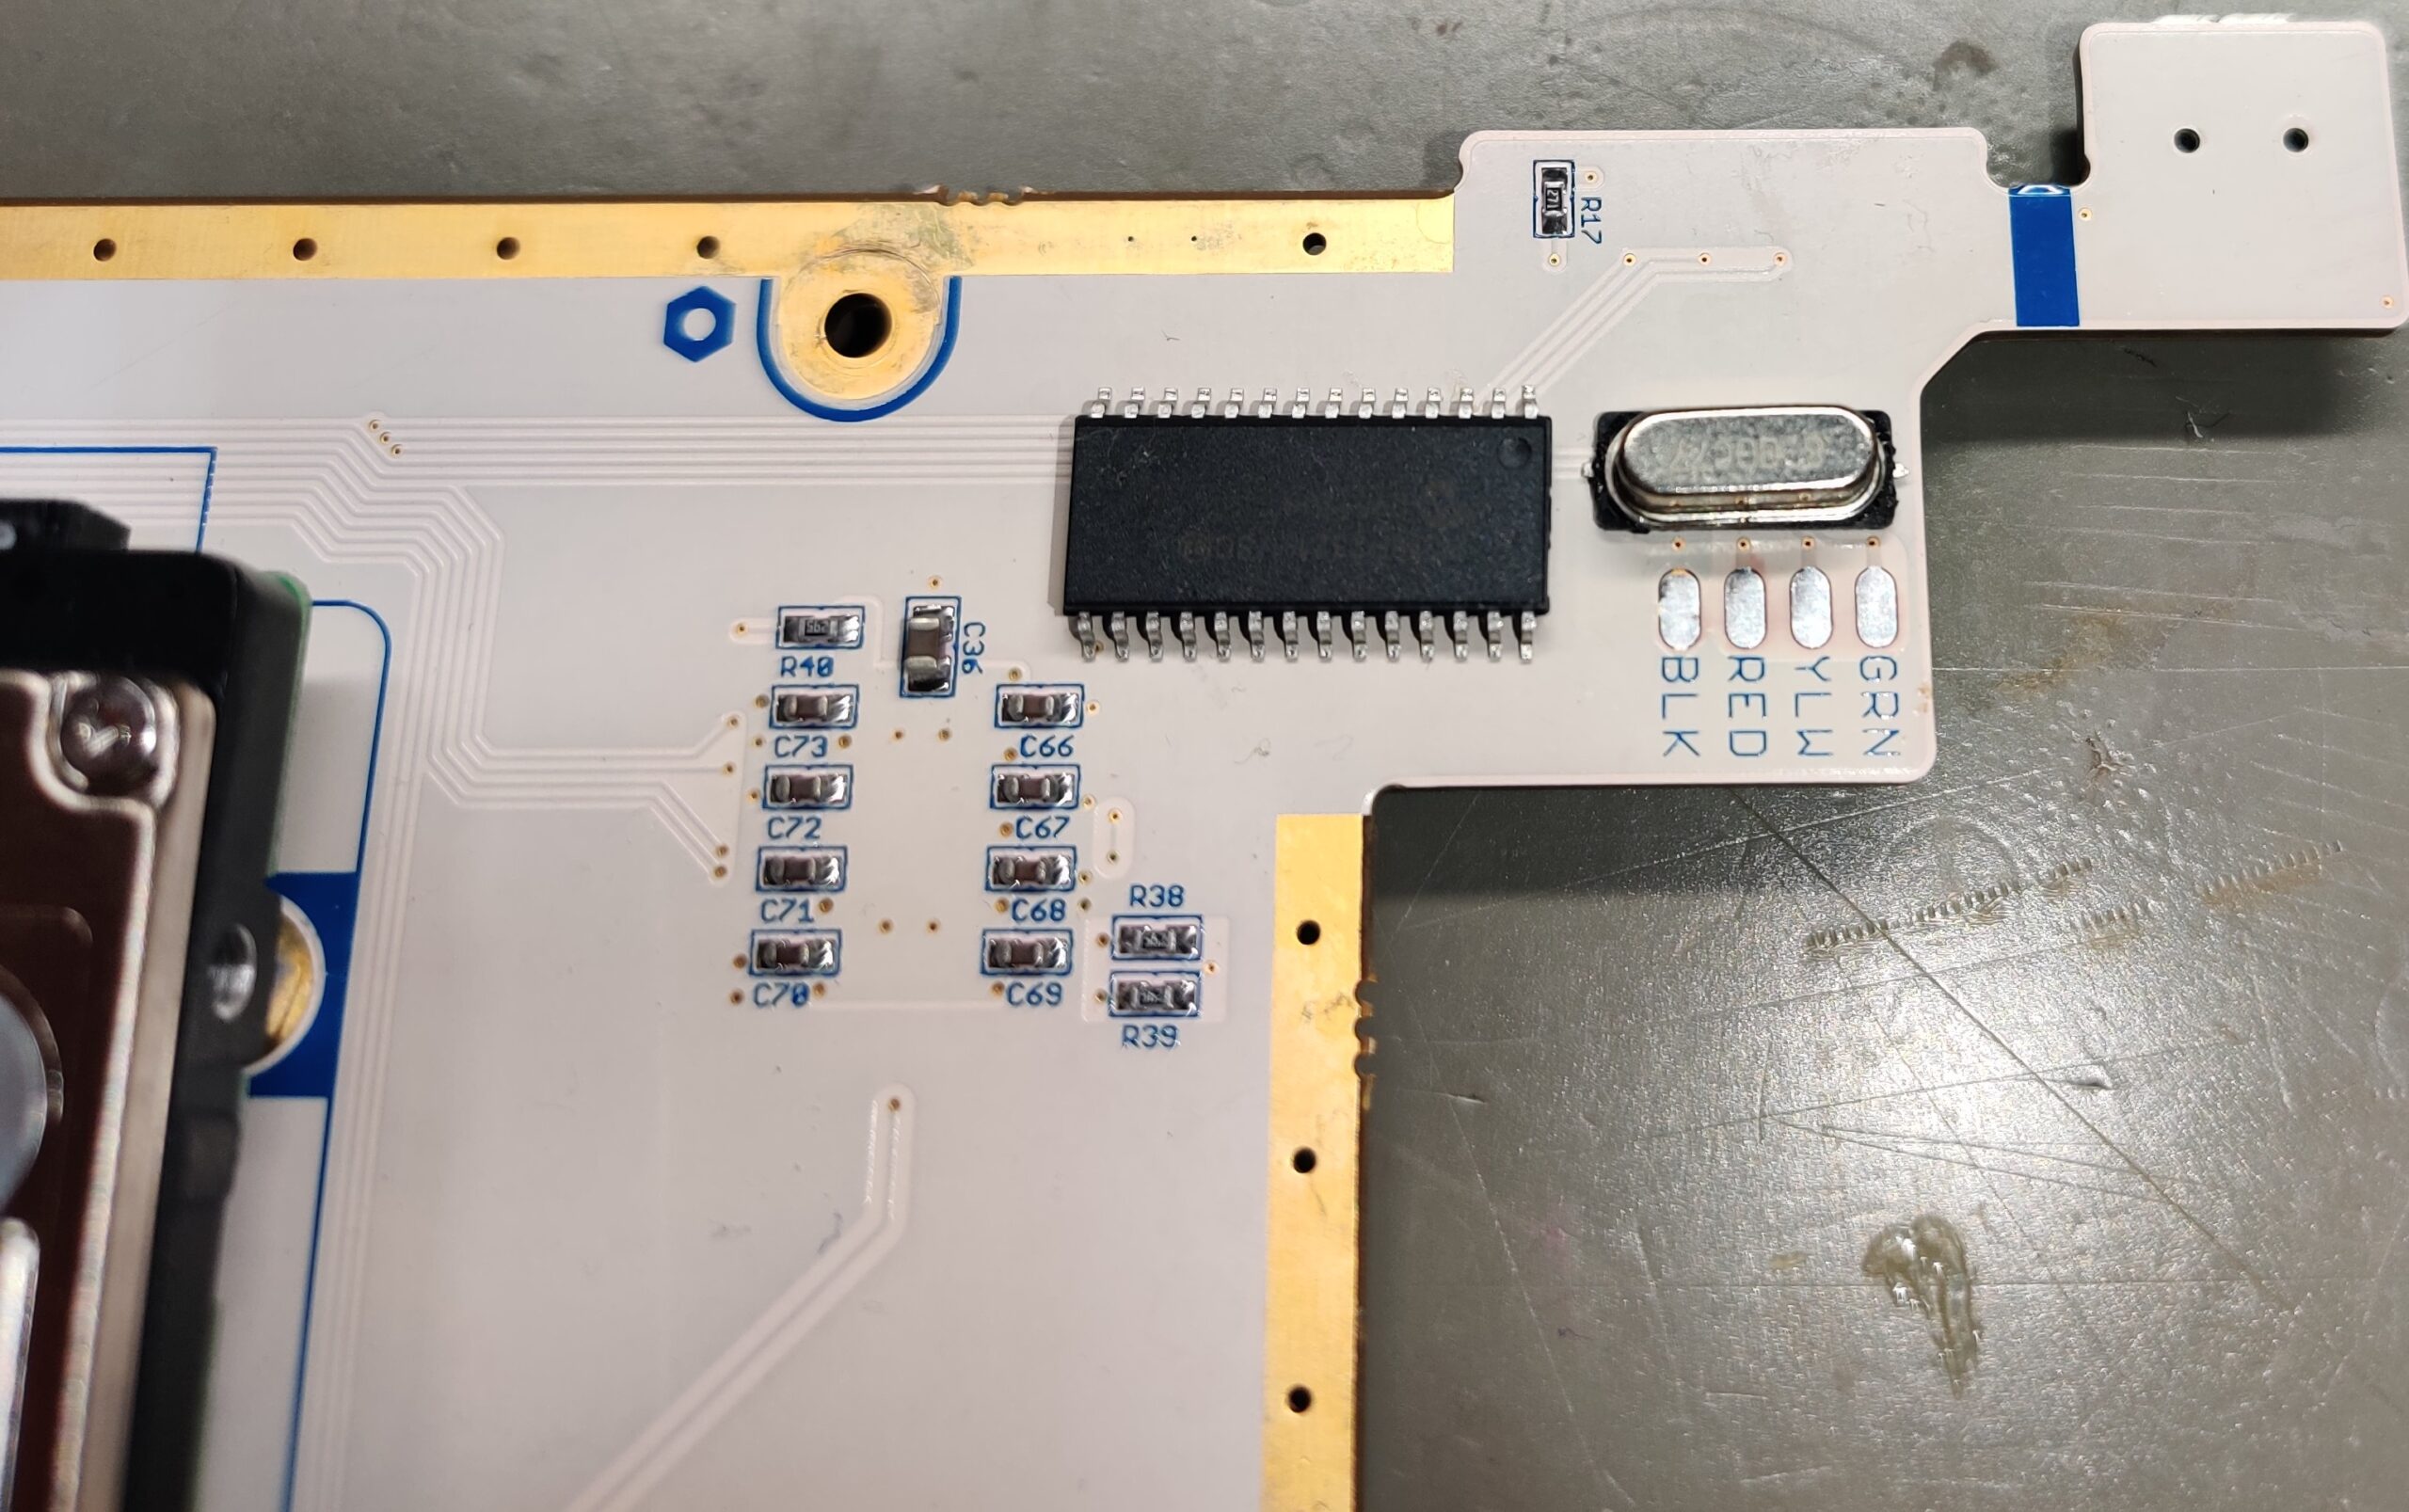
The Controller Select PCB itself servers 2 purposes. The obvious purpose is that it allows the user to select between using 2 Wii Remotes, for 2 player games, or a Wii Remote and Nunchuck. The secondary purpose is the authentication with the Squirrel Board, which is done with a PIC18F2321 microcontroller.
If the Squirrel board does not get the expected response from the Controller Select PCB, then the Squirrel board will not mount any disc images from the hard disc drive, and the user will instead get a Fatal Error on the screen. The user will not be able to play any games or load the Starlight user interface game selection menu if this authentication fails.
For more technical information please refer to the Rare Gaming Dump Wiki’s entry on the Starlight Fun Centers.
Hacking the Starlight
My journey on hacking the Starlight Wii kiosk goes back to over a decade ago. I’ve had my hands on multiple Starlight Wii consoles before and they were always just the console, never the full kiosk or the Controller Select PCB, so I was limited with what I could do. Luckily, the person that sent me these 4 Starlight Wii’s for me to hack, had also sent me 5 blank PIC18F2321 microcontrollers and an XGecu T48 universal programmer.
I started off with doing a complete tear down of the consoles. I then removed the NAND chips from these Starlight Wii’s and manually flashed BootMii into Boot2, NAND blocks 1 through 7. There is no official method to install BootMii into Boot2 on development Wii’s. Currently the only methods are with a hardware flasher and by using experimental software that requires you to already have an entry point to running homebrew. In the case of Starlight Wii’s, the only method currently available to get homebrew running is by first manually flashing BootMii into Boot2. My method of choice for working with Wii NAND’s is by using an ancient Infectus modchip (alt link) and the XavBox software (alt link). With all the different flashers and software out there, this is still the most straight forward approach. With BooMii installed to Boot2, I was able to boot right into CeilingCat, and make a full backup of the NAND and get the console’s unique keys.
Then, from each Squirrel board, I removed the NOR chips that contains the firmware for the FPGA and I dumped the firmware using my FlashCat XPort. The firmware has minimal differences from board to board within the same revisions. The only difference noticed has been the Squirrel board’s serial number written in the firmware. This served no purpose in the hacking of the Starlight Wii console, but was done for documentation purposes.

My next task was to make copies of all the hard drives and generate an MD5 hash of the created image. To do this the following command was run in linux to unlock the hard disk drive.
hdparm --user-master u --security-unlock hex:D6247556436DA53833229A3DA34B633F201EB171555520346938FE3DAF6C4C9D /dev/sdXThe next command is then executed to copy the full contents of the HDD to an image file using DDRescue
sudo ddrescue -d /dev/sdX ~/DriveImage.imgBecause of lack of space on this linux machine, I had to just start writing the HDD image file to a folder on my workstation that I shared on my network. The following command is then run in Windows PowerShell to generate the MD5 hash.
CertUtil -hashfile .\DriveImage.img md5We have found that most, if not all, of the HHD’s connected to the Squirrel Boards are just imaged from a master drive. We have found 4 different drive images so far, and comparing the MD5’s just helps make it easier to confirm if a drive image is one that we already have.
With that done, I then replaced the wired bluetooth module with a standard wireless bluetooth module like you would find on a retail unit. Alternatively, it is possible to just screw in an antenna with a male SMA connector.
My last task was to bypass the requirement for the Wii console to be in the kiosk and connected to the Controller Select PCB. Another hacker, j4m13c0, had previously dumped the data (firmware) of the PIC18F2321 and they provided me with a copy of that.
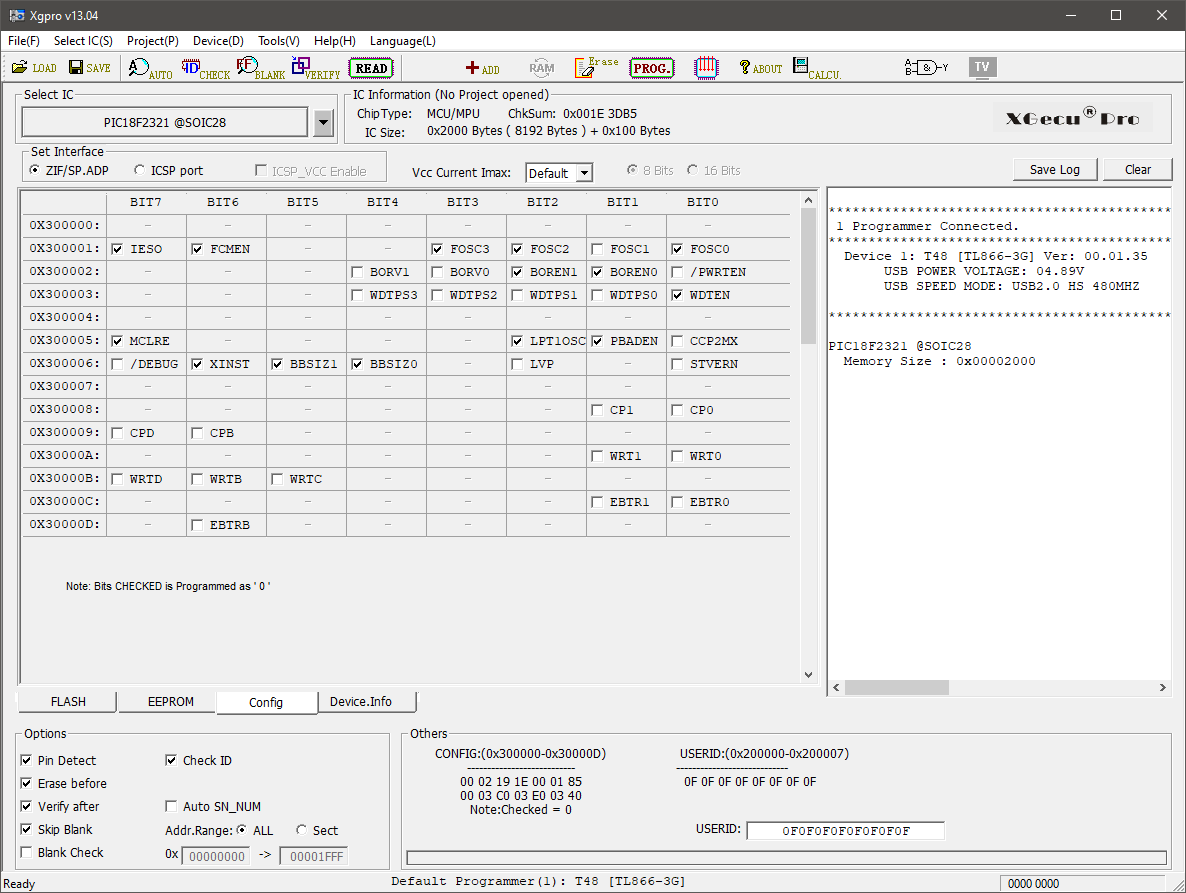
I flashed the firmware to the PIC18f2321 SOIC using the XGecu T48 and the Xgpro software.


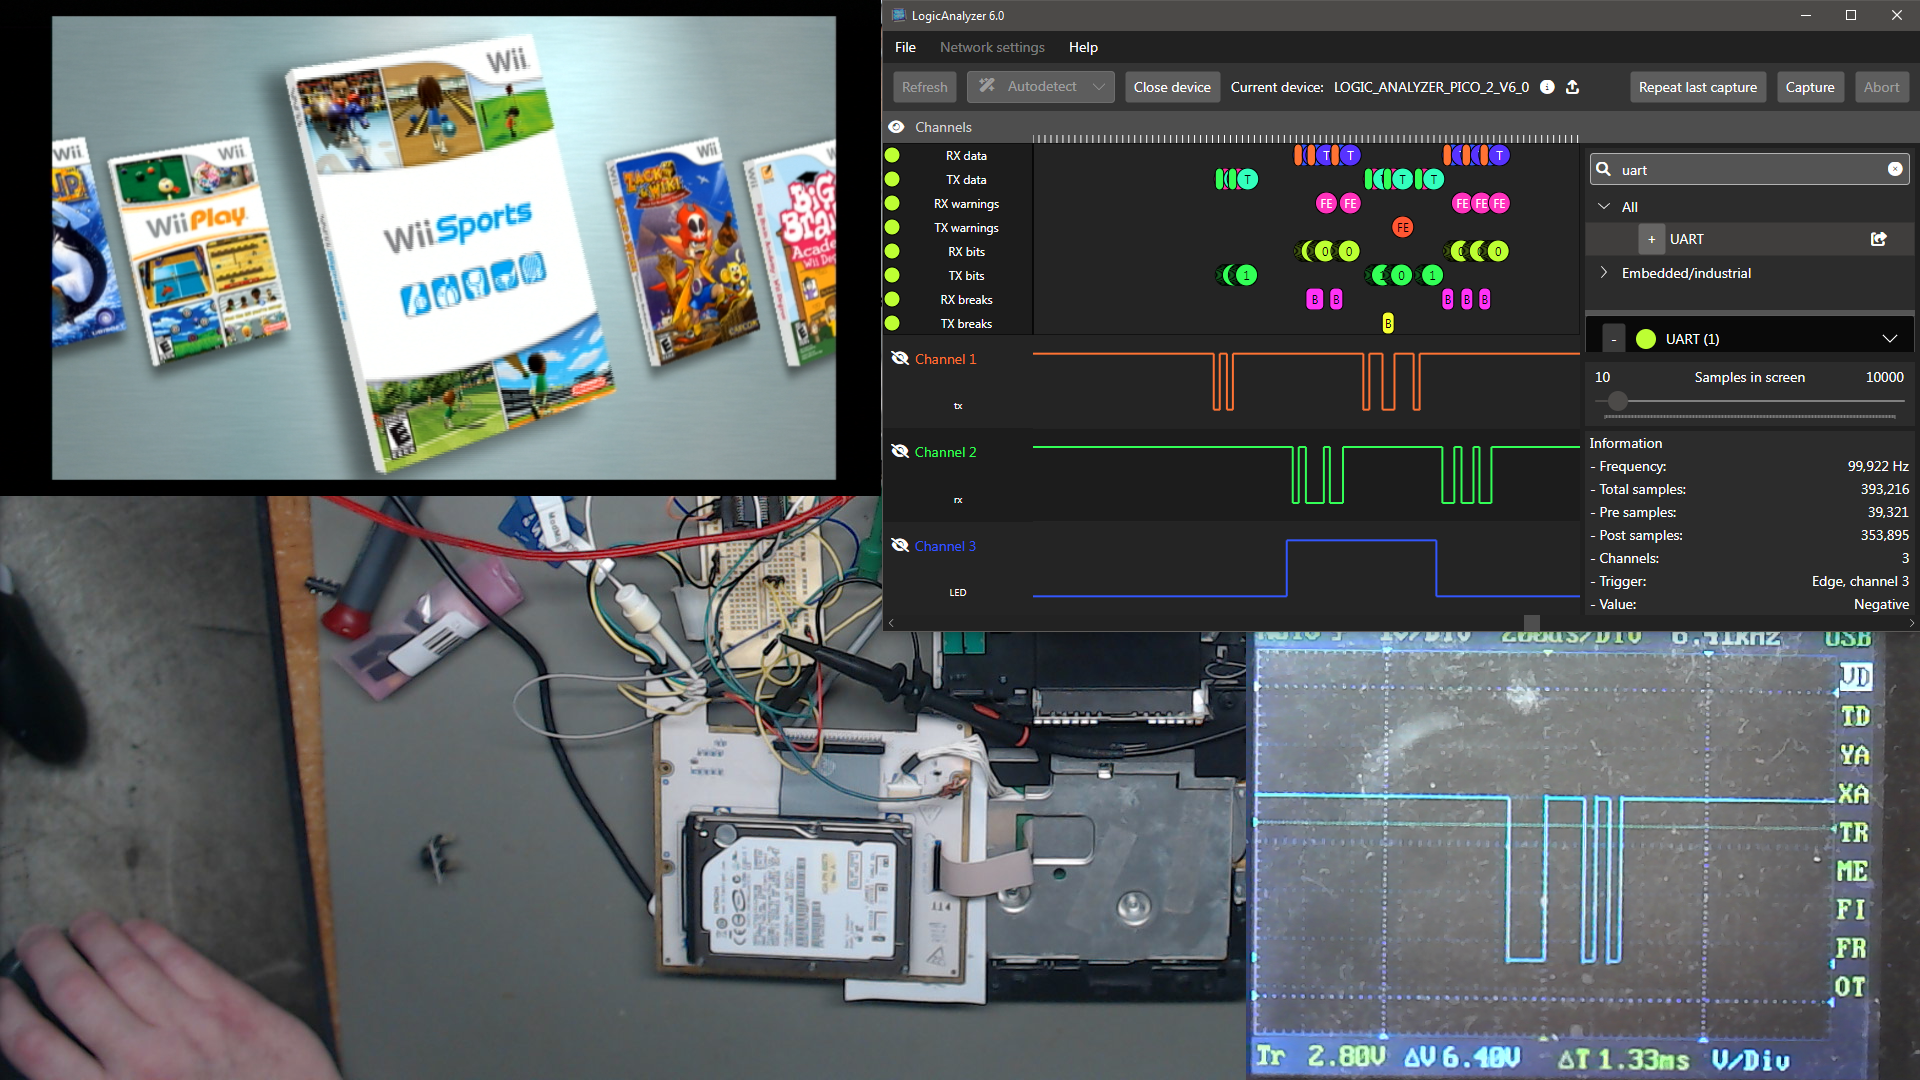
J4m1ec0 also reverse engineered the Controller Select PCB and provided that information to me. Luckily, the Controller Select PCB is stupidly simple and was easy to replicate it’s connection to authenticate with the Squirrel board for it’s challenge and response.
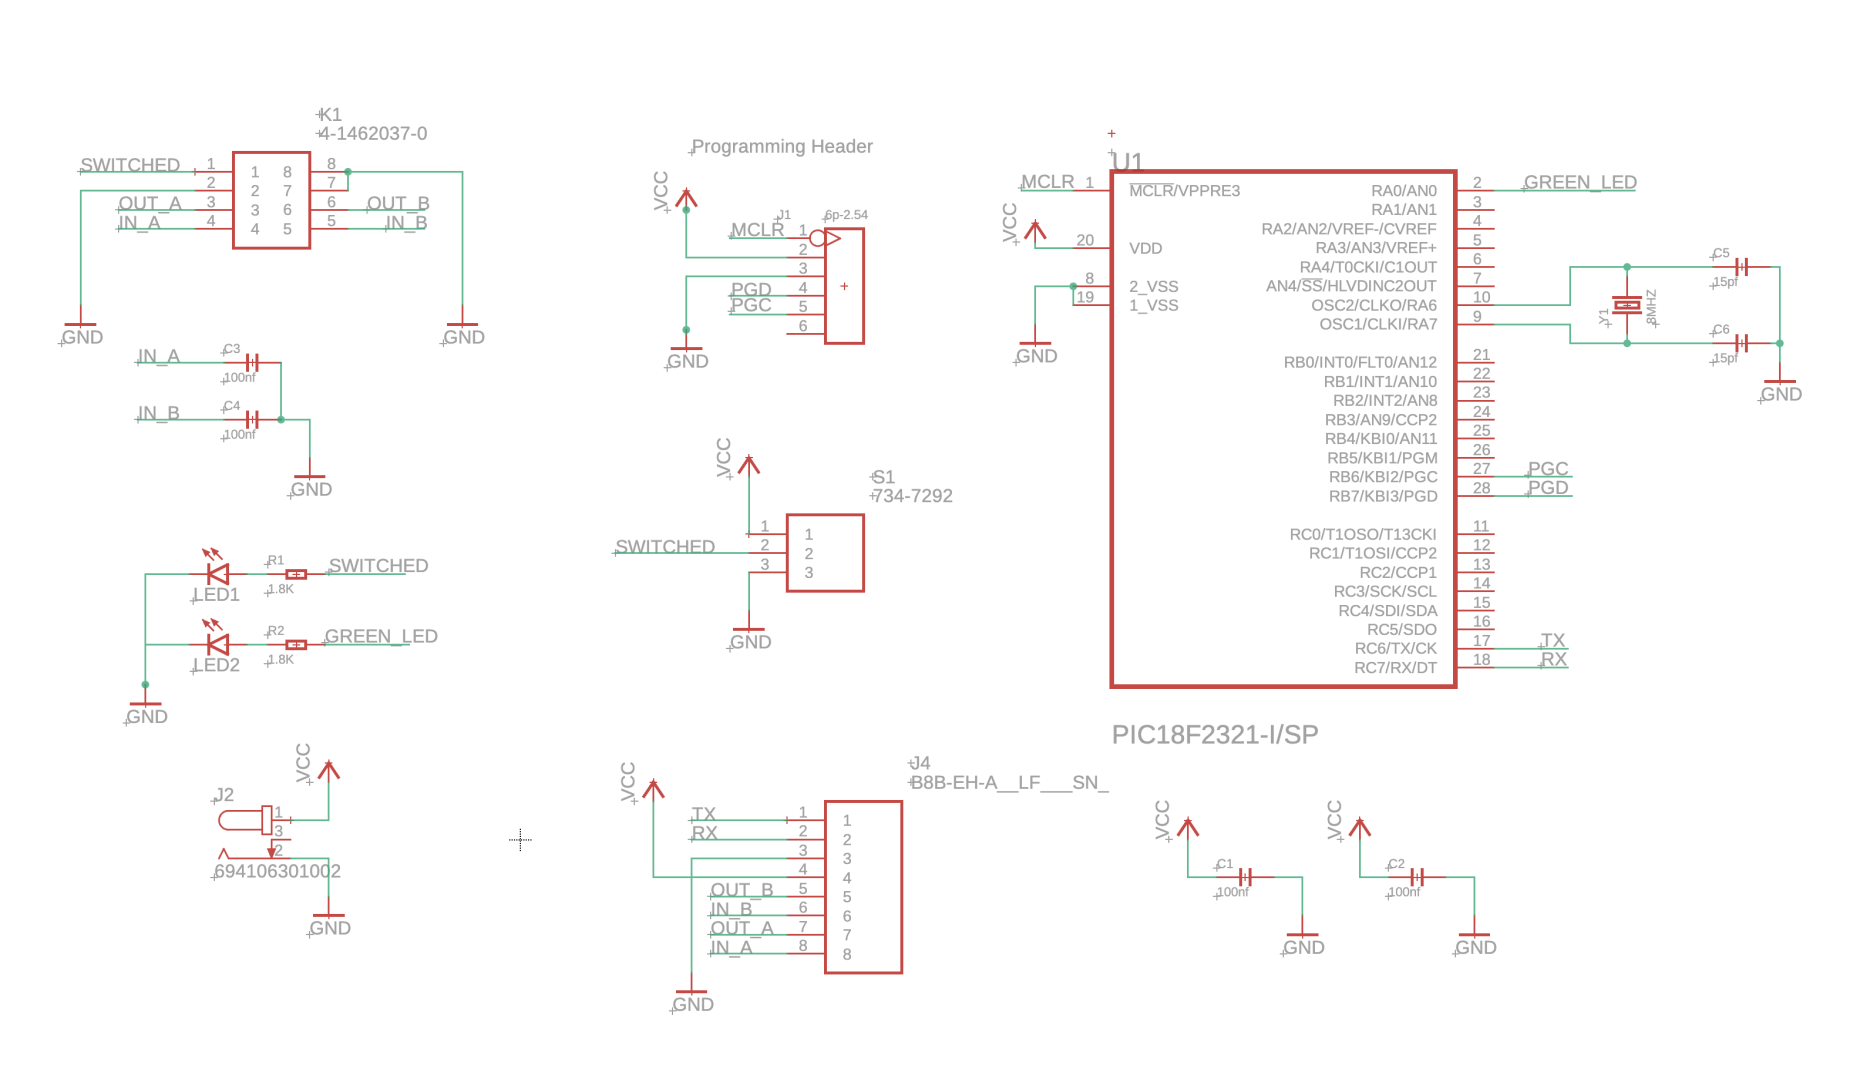
From the already limited amount of components on the Controller Select PCB, there are only 2 that are necessary to do the challenge and response authentication with the Squirrel board. Those 2 components are the PIC18F2321, and an 8 mhz crystal oscillator.
After trying this out on a breadboard, the next step was to use my cutesy soldering tricks and try it deadbug style.
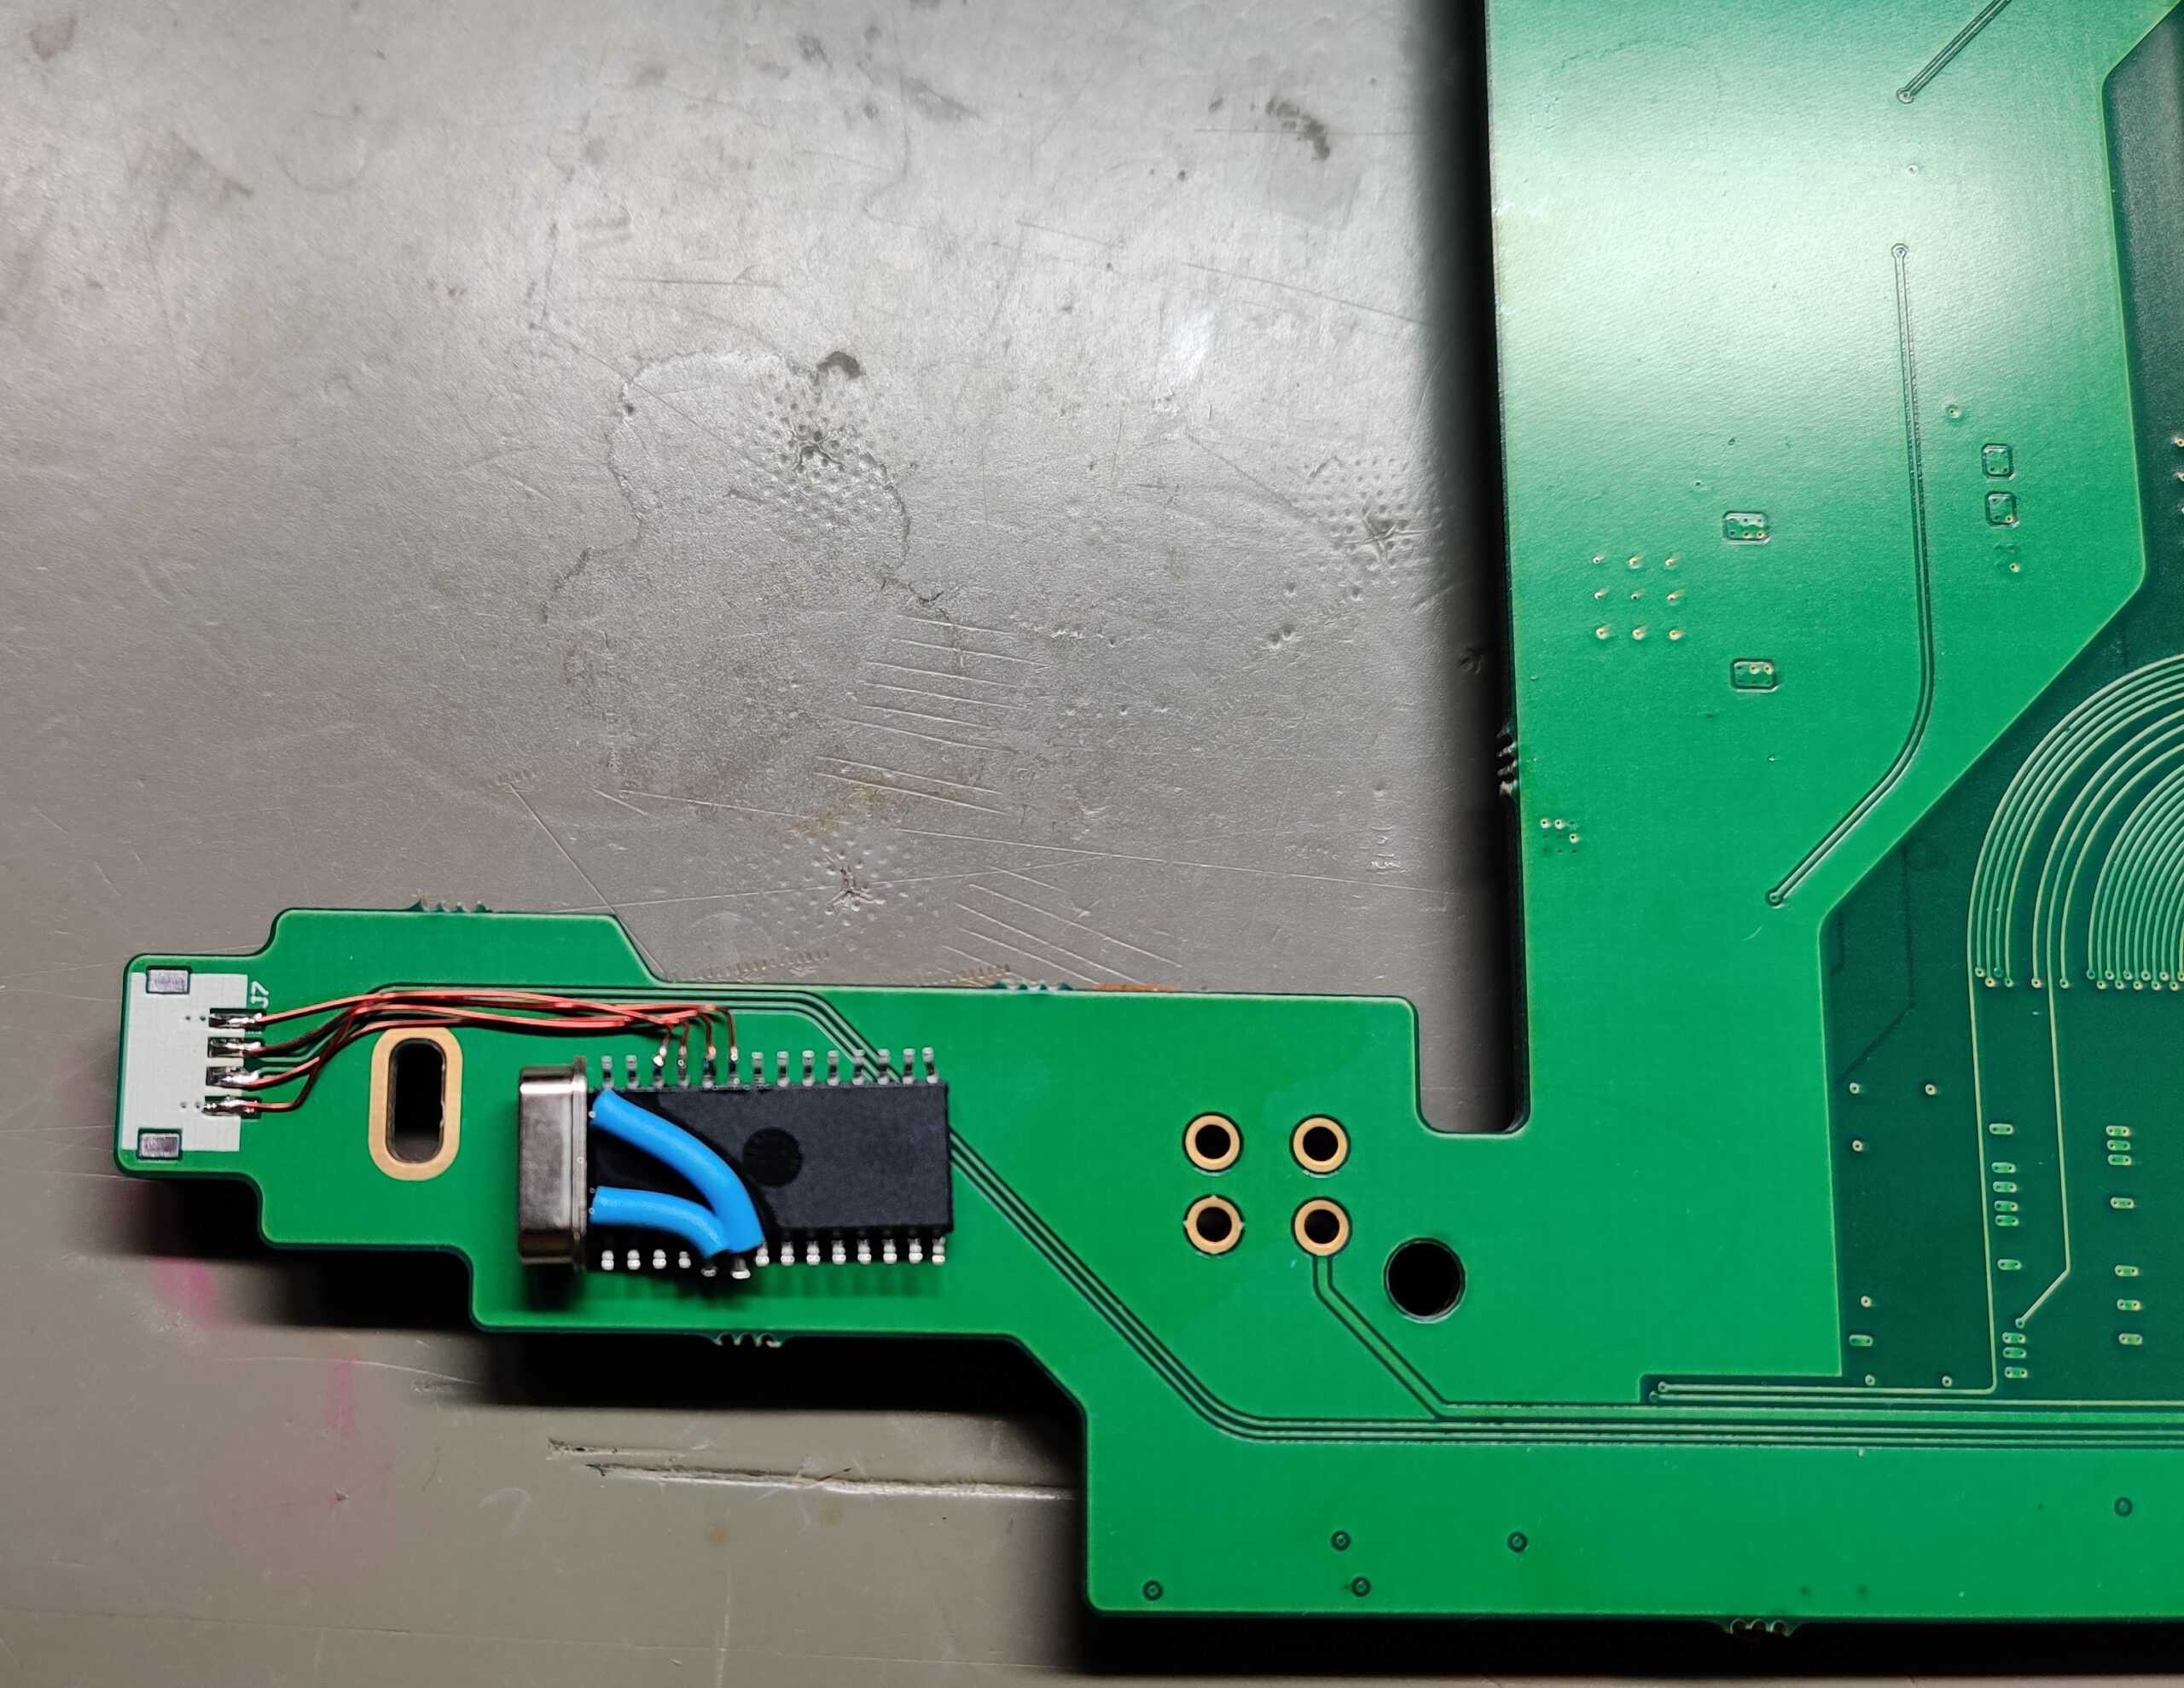
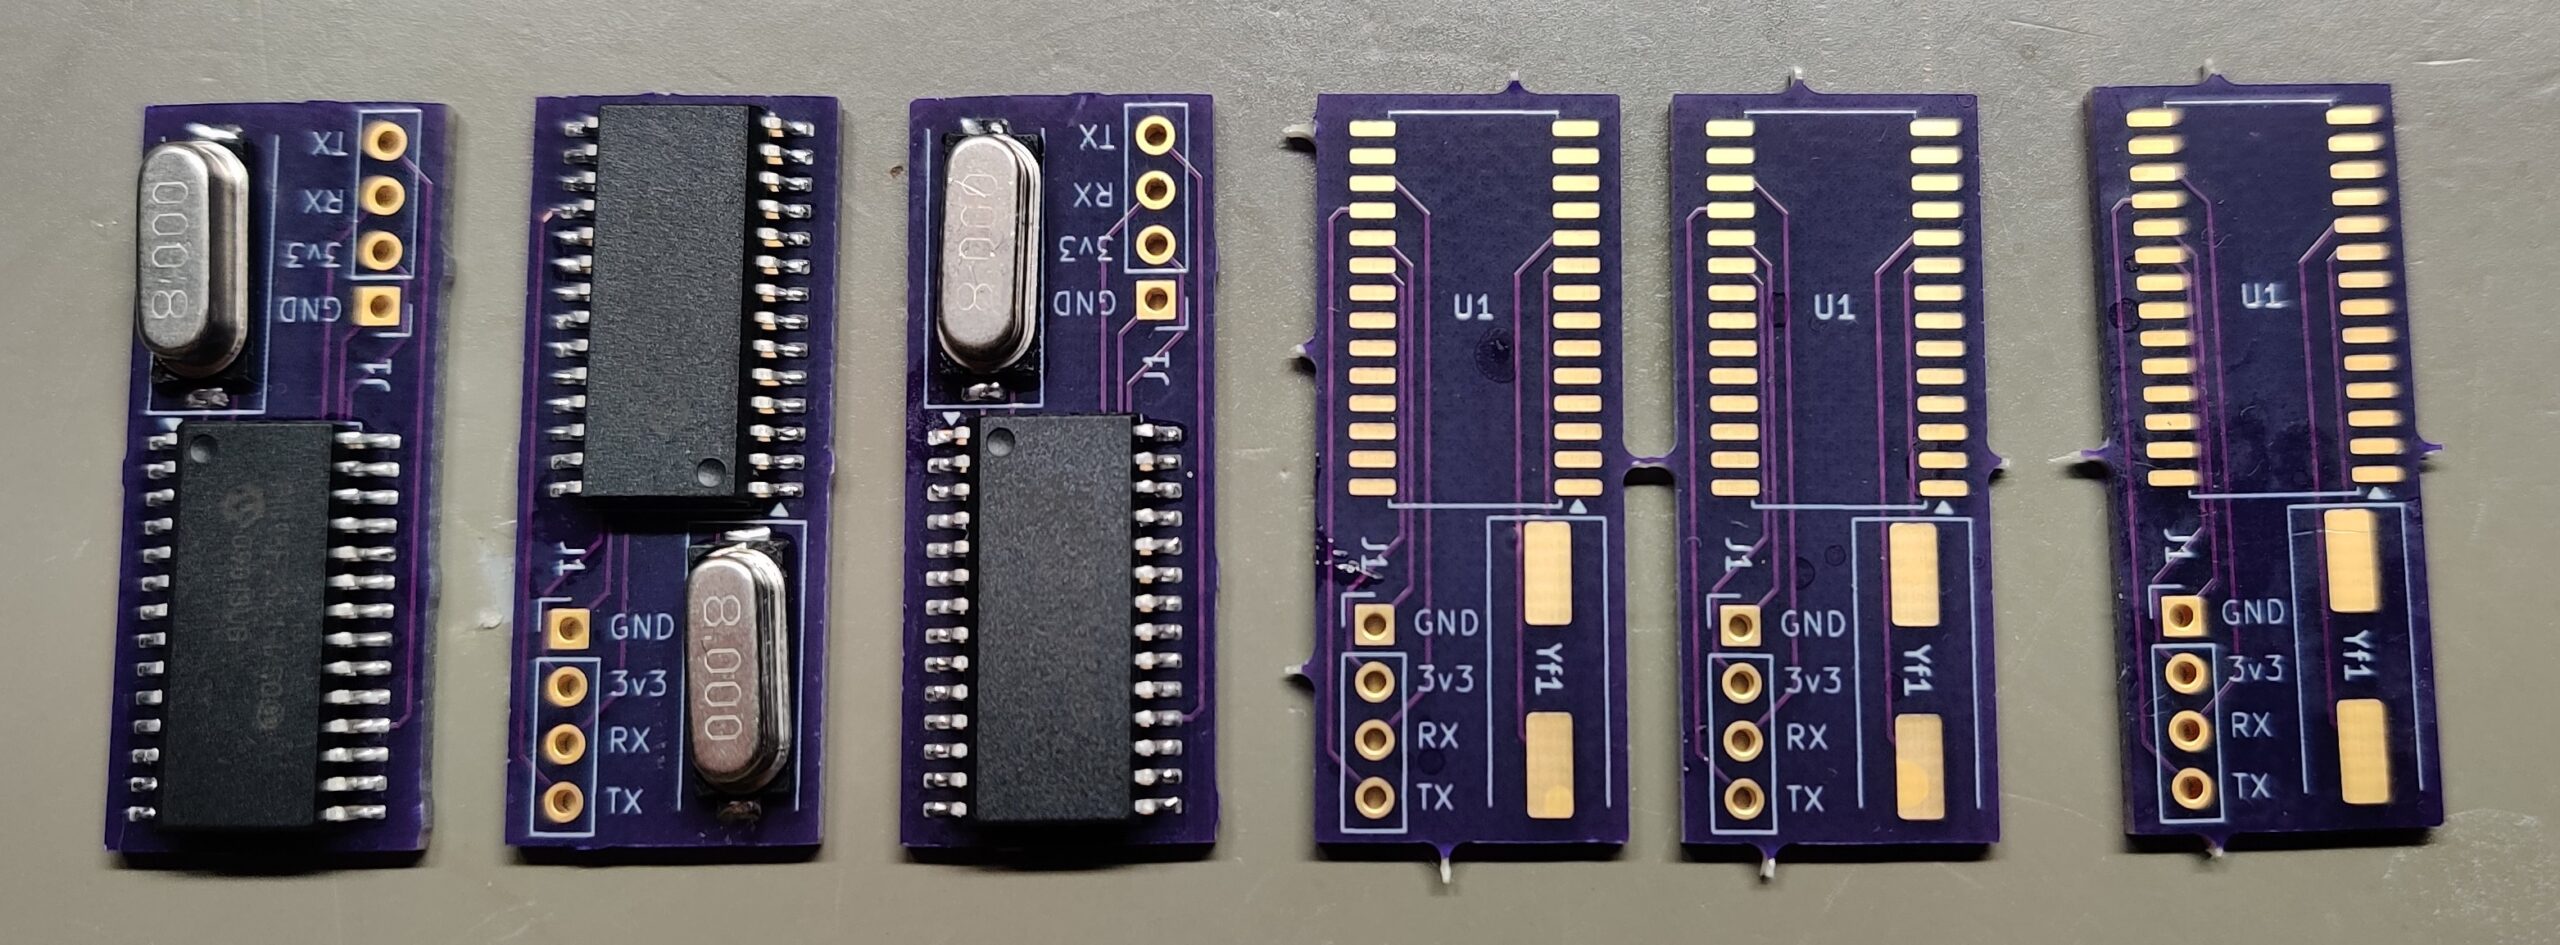
Confirming that this circuit does still in fact correctly authenticate with the Squirrel Board, our next step was to get a PCB made that will allow us to do this modification without the messy bits of the deadbug approach. For this I enlisted the help of fellow Wii enthusiast, Devnol, and he was able to whip up something for us in short order.
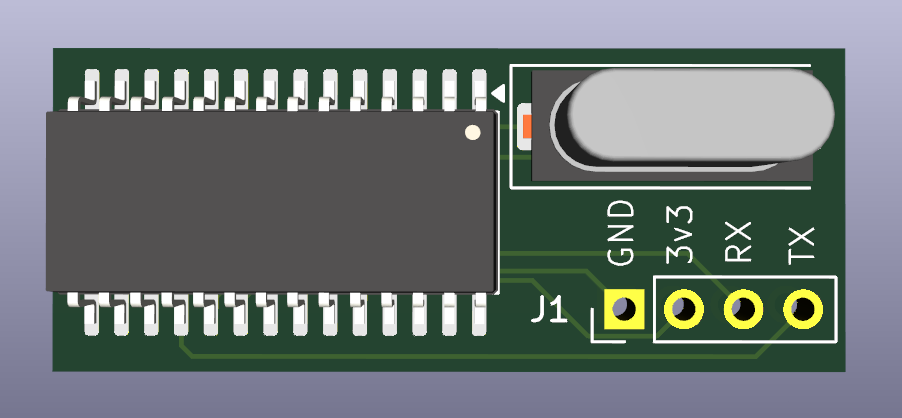
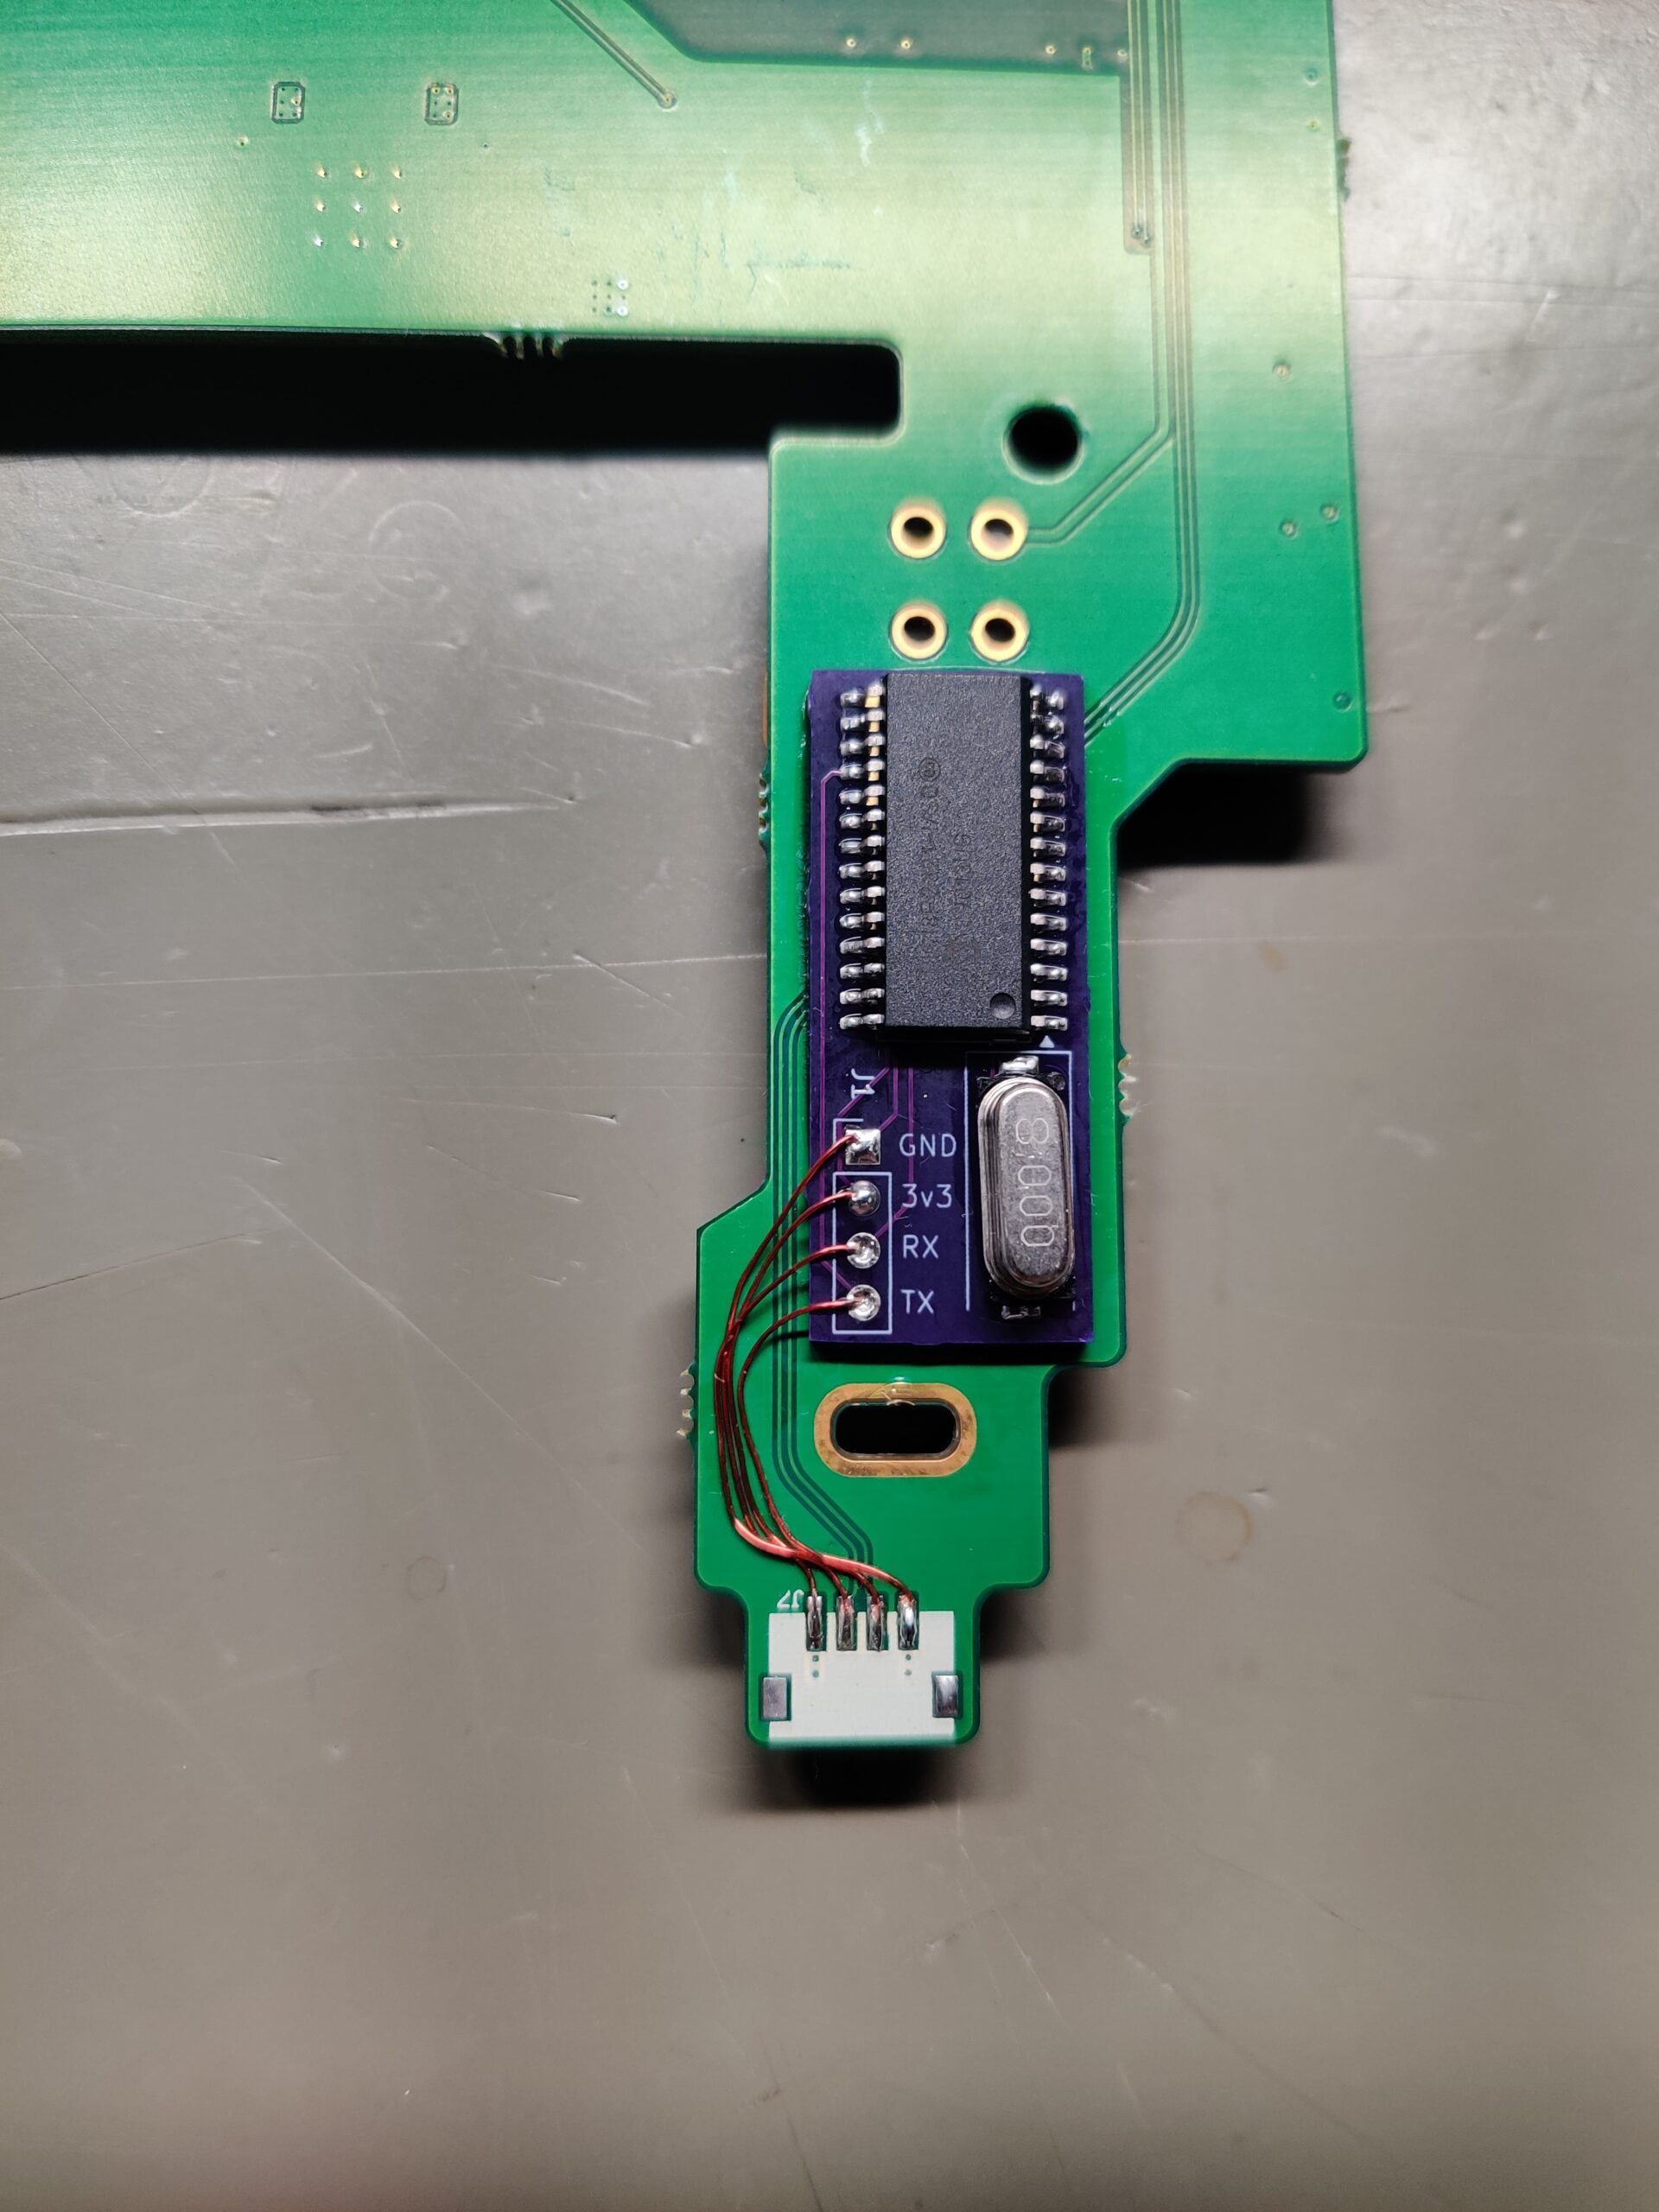
The above design is primarily meant to work with the PATA (IDE) type of Squirrel Boards. This design allows us to remove the pigtail connection and place our CloneMii directly on top of the pads to the pigtail and solder through the holes, securing the device in place while making the necessary connections to the Squirrel Board. We do not consider this as a final design yet, but is surely enough for me to get these 4 Starlight Wii consoles back to the owner with my task completed. A later revision will include the status LED and decoupling capacitors and the QFN version of the PIC18F2321 for it’s smaller size.
The above PCB design will still work with the SATA version of the squirrel board, it will just require someone to use some jumper wires to make the connection. We do plan to make a version specifically for the SATA version of the Squirrel Board so the user does not have to use any jumper wires, but that will come at a different time.
Linux commands
Extract game list from HDD image
dd if=$1 bs=4096 count=8 status=none | strings -n 6Thank you
This project has been spanned over many years and many people have contributed in numerous ways. In no particular order;
GerbilSoft, for providing a developer key signed version of BootMii for Boot2
j4m13c0, for reverse engineering the Controller Select PCB, dumping the data from the PIC18F2321, discovering the HDD unlock password, and much more.
-Redacted-, for providing me with the 4 Starlight Wii’s, the blank PIC18F2321 chips, the XGecu t48 universal programmer, research into the Starlight HDD dumps and providing various linux commands.
Devnol, for his promptness to help us throw together a quick and simple design for the CloneMii.
RedBees, and the Rare Gaming Dump community, for providing us the place to all meet each other, collaborate on these projects, and everyone else that always makes themselves available to answer questions and provide their knowledge.
I am sure I am missing people and their specific contributions, and for that I am deeply sorry.